

Set Up Emergency Contacts in Your Trip App in 5 Minutes
Set up verified emergency contacts in your itinerary app. Label entries, enable offline access, export a PDF, and share trip with companions.

On this page

Save emergency contacts in your trip by adding clearly labeled contact records to the trip’s contact or notes section: name, role, phone number with country code, and a short “when to use” note. Prioritize local emergency services, your embassy or consulate, your insurer’s assistance line, your accommodation, a transport contact, and a trusted person at home. Verify every number against an official source, then share that trip view with at least one trusted companion.
TL;DR:
- Include detailed emergency contacts with role, location, international phone number, and when to use note, to facilitate quick action during crises.
- Verify all numbers with official sources before departure and after arriving, and keep backup records in paper or offline formats.
- Label contacts with action-first descriptors and group by urgency to enable rapid identification amid stress.
- Share trip views with trusted companions, giving them read access to contacts, itinerary details, and offline copies for crisis scenarios.
- Use trip or itinerary app features to attach and organize emergency contacts efficiently, updating and removing access after the trip concludes.
Table of Contents
- What to include in each emergency contact record
- Step-by-step: adding emergency contacts inside your itinerary app
- Sharing emergency contacts safely with your travel companions
- Verify your numbers and build in backups
- Labeling and organizing contacts for fast action
- A quick-start checklist inside your itinerary app
- Put your emergency contacts where your itinerary already lives
- FAQ
- Sources
What to include in each emergency contact record
A phone number alone is not an emergency contact record. If a helper, a hotel clerk, or a worried relative opens your trip, they need enough context to act without calling you first to ask who this person is.
Each entry should carry a handful of fields:
- Name or organization, plus a role (police, ambulance, embassy, insurer, accommodation).
- Country or city context, so a contact tied to one leg of the trip isn’t confused for another.
- Phone number with the international dialing code, since local-format numbers often fail to connect from abroad.
- Website or emergency page URL, when the organization publishes one.
- Alternative contact method, such as WhatsApp or email, for when calls won’t go through.
- A short “when to use” note, like “medical emergency only” or “lost passport.”
These fields matter because embassies, consulates, and insurers almost always ask for itinerary details or passport information before they can help, according to structured emergency contact guidance from OSAC. Having that information already attached to the contact record saves time exactly when time matters. Role labels also prevent a stressed traveler from dialing the embassy for a medical issue that the insurer’s 24-hour line is better equipped to handle.
Step-by-step: adding emergency contacts inside your itinerary app
Most itinerary apps give you a trip-info, notes, or contacts area, even if they don’t call it “emergency contacts” by name. Here’s a sequence that works whether or not your app has a dedicated field:
- Open or create the trip, then locate the trip-info, contacts, or notes section.
- Create a dedicated list labeled “Emergency contacts” if the app allows custom lists or pinned notes.
- Add one record per contact using the field template above. For example: “Embassy, consular assistance, [city], +1-XXX-XXX-XXXX, embassy.gov, email: [email protected], use for lost passport or arrest.”
- Attach contacts to specific legs or cities when your trip spans more than one destination, so the right embassy or local emergency number surfaces for each stop.
- Upload a one-page emergency-info document if your app supports file attachments and offline access, as a backup to the structured fields, a step echoed in OSAC’s guidance for apps without dedicated contact fields.
- Label each record with an action-first prefix, such as “Ambulance, immediate” or “Insurer, 24/7 medical line,” so it surfaces fast in search or a pinned list.
Pro Tip: Put the “when to use” note first in the record title if your app sorts alphabetically. “Ambulance, immediate” will outrank “Zurich Insurance” in a panicked scroll.
Sharing emergency contacts safely with your travel companions
An emergency contact list that only you can see defeats its purpose. Share the trip view itself, not your account login, so companions can see both the contacts and the itinerary context that gives those contacts meaning.
- Give most participants viewer access, and reserve editor permissions for co-organizers who actually need to update entries.
- Choose offline access deliberately for anyone traveling to areas with unreliable connectivity, so the list loads without a signal.
- Redact unnecessary personal details when sharing with family at home, but keep enough context, like hotel name, flight numbers, and last known location, for them to help if asked.
- Remove access after the trip ends if a companion or helper no longer needs it.
Pro Tip: Confirm each companion can actually open the shared view before you leave. A permission that looks fine on your screen sometimes fails silently on theirs.
Verify your numbers and build in backups
A saved number is only useful if it’s current and reachable. Check local emergency and diplomatic numbers against official government, embassy, or consulate pages before you travel, and again after you arrive, since numbers and reachability can change. The U.S. State Department’s travelers page lists consular contact pathways and country-specific numbers, and similar pages exist for most governments.
Registering for a government alert service, such as the Smart Traveler Enrollment Program for U.S. citizens, adds a channel for embassies to reach you or your emergency contact, but official guidance is clear that enrollment supplements stored contacts rather than replacing them. Travelers of other nationalities should check their own government’s equivalent program.
- Export your contact list as a PDF or CSV.
- Enable offline access inside your itinerary app.
- Keep a screenshot or printed copy in a separate bag or with a companion.
- Set a reminder to recheck numbers if your plans change.
Networks fail during crises, which is why U.S. consular guidance treats a saved list as one accessible copy among several, never the only one.
Labeling and organizing contacts for fast action
Under stress, people scan rather than read. Labels that lead with the action and urgency help a panicked traveler or a helper find the right contact in seconds rather than minutes:
- Use action-first labels like “Police, immediate,” “Embassy, consular assistance,” or “Insurer, 24/7 medical line.”
- Group contacts by urgency or function, and pin the most critical entries to the top.
- Add brief context inside each record: applicable city, typical hours, and language support.
- Share only what helpers actually need, such as itinerary dates, hotel name, and flight numbers, and skip unrelated personal data.
This approach mirrors what consular pages recommend: separating immediate local response numbers from consular or insurance lines so the first call goes to the right place.
A quick-start checklist inside your itinerary app
If you’re setting this up for the first time, a short sequence gets you there faster than building a system from scratch. Create your trip, then forward your booking confirmations if your app supports email import, a process we cover in our guide to organizing confirmation emails. Open the trip info area, add emergency contacts using the structured template above, enable offline access, and share the trip with at least one trusted companion.

For a faster first pass, our quick-start guide walks through creating your first trip in about five minutes, and our document storage guide covers attaching a backup PDF if your itinerary app supports offline files.
Centralizing contacts and itinerary details in one place makes them easier to find, but it doesn’t replace official emergency procedures or government alert enrollment. Treat the trip record as your fastest reference, not your only one. Families who also want live location sharing alongside stored contacts sometimes pair this setup with a dedicated device like Kin Watchdog, which supports a small list of approved emergency contacts and real-time location on a single map.
Put your emergency contacts where your itinerary already lives
Some itinerary apps pull flights, hotels, car rentals, and activities into one trip timeline, and the same trip space can work for emergency contact records like those described above. Once your bookings are in, adding a labeled contact list next to them takes a few minutes, and sharing that trip view with a travel companion keeps everyone looking at the same information.
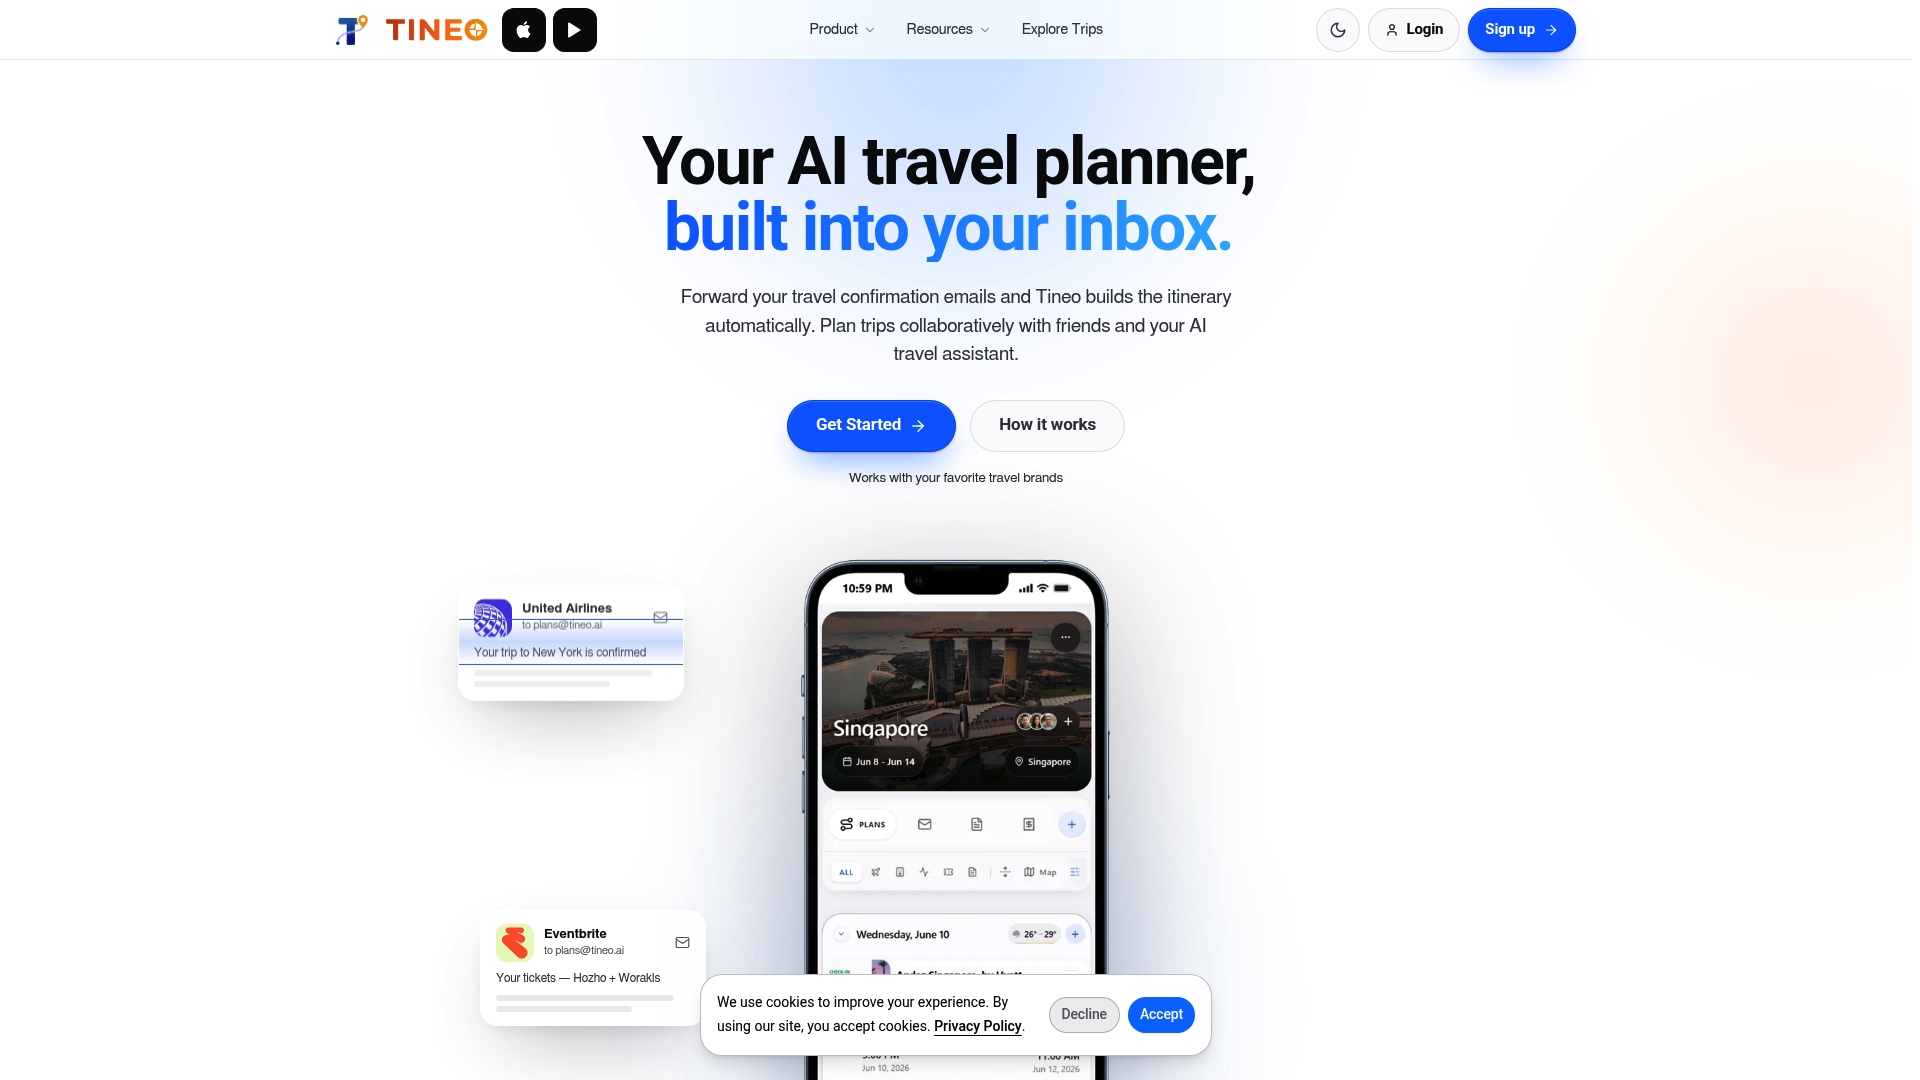
- Start with Tineo Free to create your first trip and add contacts at no cost.
- Store documents on the free plan, or upgrade to Tineo Ultra for $4.99 per month or $39.99 per year for premium AI features.
- Follow our quick-start guide for a five-minute setup walkthrough.
If you’re moving from a retired app like TripCase, our migration guide covers rebuilding your itinerary and contacts in a new system. Visit Tineo to get started.
FAQ
What information should I save for each emergency contact?
Save the name or organization, their role, country or city context, phone number with the international dialing code, and a short note on when to use that contact. A website or alternative messaging method, like WhatsApp or email, is worth adding when one exists.
Which emergency contacts should I prioritize in my trip?
Start with local emergency services, your embassy or consulate, your travel insurer’s assistance line, your accommodation, and a trusted contact at home. OSAC’s guidance also recommends including your transport provider when relevant.
How do I verify local emergency numbers before I travel?
Check the destination’s official government, embassy, or consulate website rather than relying on a general search result. The U.S. State Department’s travelers page lists consular contact pathways and country-specific numbers for U.S. citizens, and most governments publish similar pages.
Is registering with STEP enough to cover emergency contacts?
No. Government alert programs like the Smart Traveler Enrollment Program give embassies another way to reach you, but official guidance treats enrollment as a complement to stored contacts, not a substitute. You still need the actual numbers saved and shared with a companion.
How much does Tineo cost if I want to centralize my itinerary and contacts?
Tineo Free is available at no cost, and Tineo Ultra costs $4.99 per month or $39.99 per year for added features like advanced AI assistance.
Sources
- OSAC announcement: Structured emergency contact guidance
- U.S. State Department, Travelers
- Usa
- U.S. State Department, Crisis support and consular guidance