

Tineo Quick Start: Create Your First Trip in 5 Minutes
Get started with Tineo in minutes: create an account, set up email forwarding, create your first trip, and invite collaborators.


On this page
Tineo is easiest to understand when you treat it like a travel inbox with a brain. You sign up, point your confirmations toward Tineo, and let the trip assemble itself into one itinerary instead of fifty scattered emails.
This guide is the fast route from an empty account to a trip you can actually use.
Route map
The five-minute boarding sequence
Follow this route once and the product starts feeling obvious.
-
Create account
Set up your Tineo login and verify your email so the workspace is ready for bookings.
-
Learn the import route
During onboarding, Tineo shows you the forwarding address and import model.
-
Create a trip
Name the trip, add dates, and establish the timeline you want bookings to land inside.
-
Add the first booking
Forward a confirmation email or enter a segment manually so the itinerary becomes real.
-
Invite collaborators
Bring in friends, family, or teammates so everybody works from the same plan.
Step 1: Create your account
Start at tineo.ai/sign-up, add your name, email, and password, then confirm the verification email. That is the entire account setup.
The important thing here is not overthinking profile setup. Tineo becomes useful when bookings start landing in the workspace, so get through sign-up quickly and move to the import flow.
Step 2: Choose your import path
Tineo supports two practical routes:
- Connect Gmail and let travel confirmations flow in automatically.
- Forward travel emails manually to
[email protected].
The Gmail connection is the lower-friction option. Manual forwarding is ideal if you want tighter control over exactly what enters the trip.
Field guide
Import options at a glance
Connect Gmail
Best for frequent travelers who want confirmations to appear automatically.
Tineo reads travel-related email patterns rather than asking you to retype booking data.
Manual forwarding
Best for travelers who prefer explicit control over every imported confirmation.
Forward any booking email to [email protected] and review the extracted details.
Manual segments
Best for details that never arrived by email in the first place.
Useful for restaurant ideas, personal notes, road trip stops, and reminders.
Step 3: Create the first trip
From the dashboard, click New Trip and fill in the basics:
- Trip name
- Start and end dates
- Destination or cities
- Optional description
That is enough structure for Tineo to begin placing incoming bookings on a real timeline.
If you do not want to create a trip first, you can also forward a booking confirmation and let Tineo create the shell automatically. Either path works. The point is to establish a timeline that future emails can enrich.
Step 4: Add the first booking
Forward a confirmation email for a flight, hotel, Airbnb, activity, or car rental to [email protected]. Tineo extracts the useful pieces and turns them into trip segments instead of forcing you to manually transcribe dates, addresses, or confirmation numbers.
The same trip can also hold manual segments for notes and plans that did not come from an email. That combination is what makes the itinerary feel complete.
What Tineo reads
The details that usually get extracted
Timing
Departure, arrival, check-in, and check-out windows.
Location
Airports, hotels, venues, addresses, and city context.
Codes
Confirmation numbers, booking references, and linked records.
Tickets
Attachments, QR codes, and machine-readable boarding data when available.
People
Passenger names and collaborator-relevant details.
Links
Original booking links so you can jump back to the source.
Step 5: Invite the people traveling with you
Trips become dramatically better when the right people can see the same plan.
- Viewers can keep track of what is happening without changing the trip.
- Editors can add or update bookings and keep the itinerary current.
- Owners manage the trip itself and control permissions.
Invite early. If your travel partner forwards their own confirmations into the same shared trip, the itinerary stops depending on one person acting as the human copy-paste bridge.
What the finished trip should feel like
By the end of setup, you should have:
- one trip with real dates
- at least one imported or manual segment
- a clear import route for future confirmations
- collaborators attached if other people are involved
If that is true, you are done with setup. The rest of the product gets better naturally as more real travel data flows in.
The field checklist
Quick reference
What to remember after setup
Forward here
Use it for flight, hotel, car, activity, and reservation confirmations.
Best first action
Create a trip and import one real booking immediately.
That is the moment the workspace starts paying for itself.
Best collaboration habit
Invite the group early.
Let editors add their own confirmations instead of routing everything through one person.
Next stop
Once your first trip exists, the ideal next action is simple:
- Forward one fresh confirmation.
- Review the extracted details.
- Add one manual note or activity.
- Share the trip with someone else.
That loop is the product. Once you run it a couple of times, Tineo stops feeling like another tool and starts feeling like the place your trip actually lives.
Keep reading

Tineo
Smart Check-In: When Check-In Opens and Closes for Your Airline
Tineo Smart Check-In shows when check-in opens and closes for your airline and route, adds airline notes, and opens the airline's own check-in page in one tap.
Tineo
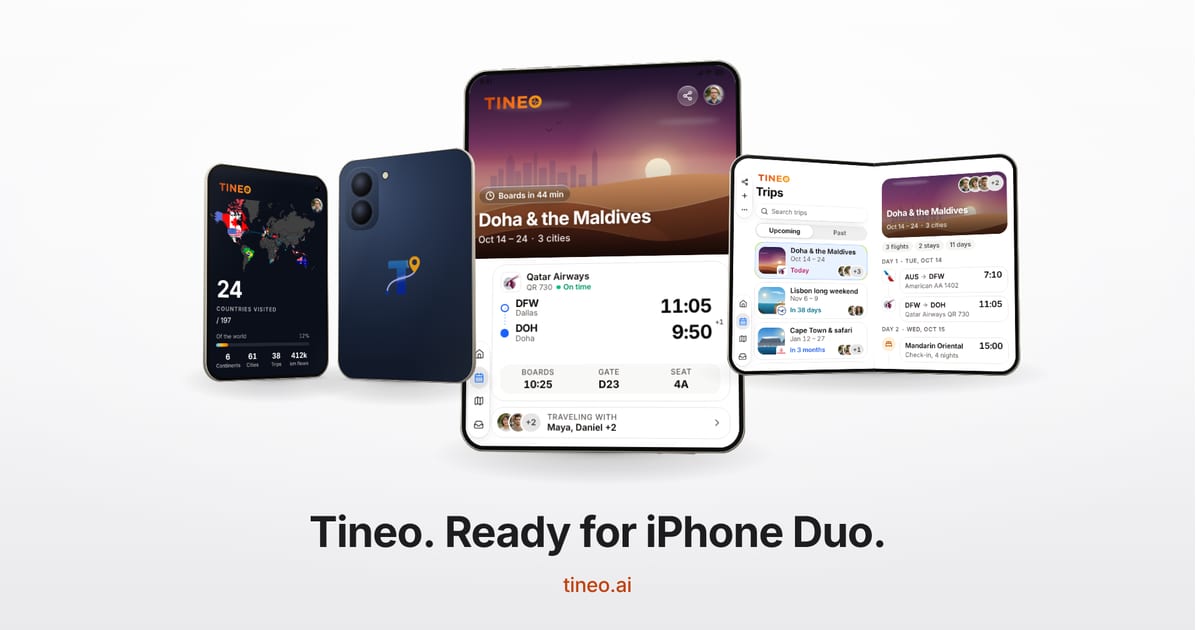
Tineo Is Ready for iPhone Duo: A Layout for Every Posture
Tineo on iPhone Duo adapts to every posture: closed, book, laptop and fully open. See how your trips, plans and map use the side strip and both pages.
Tineo
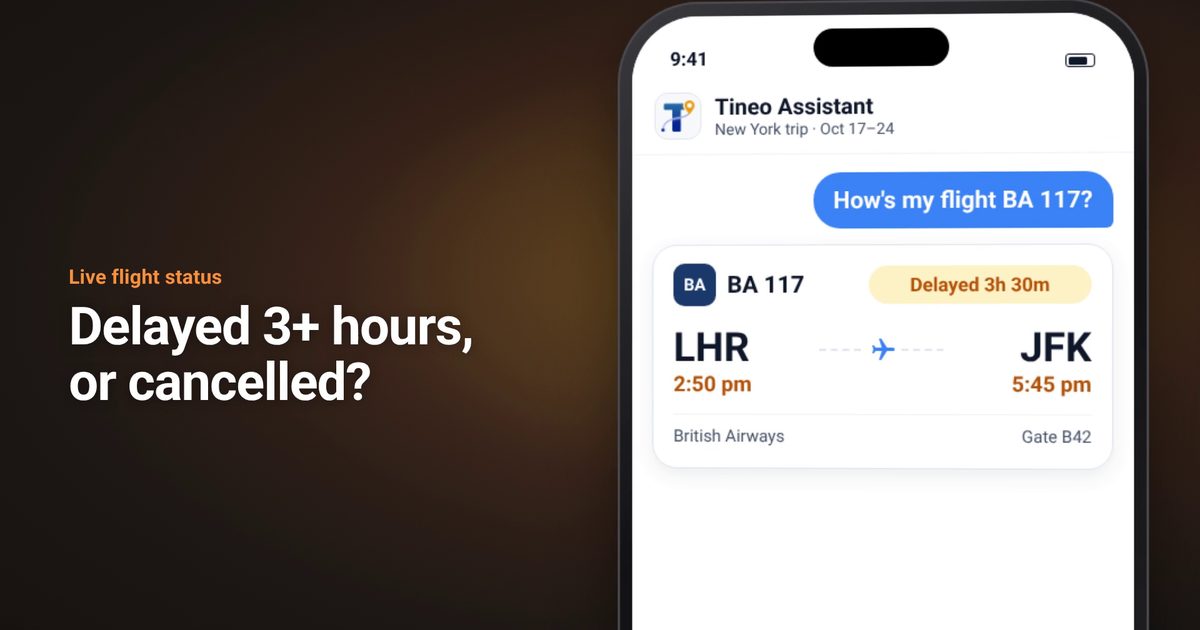
Flight Cancelled or 3+ Hours Late? Check Your Claim With AirHelp
When your flight is cancelled or arriving 3+ hours late, Tineo now links you to an AirHelp compensation check in the assistant and flight alerts.